


Simple DIY with HPM: 2x4 Basics AnySize Chair
07. 1. 2019
.png?width=3161&height=601&name=image%20(35).png "image (35)")
Are you in need of more storage? This is your answer! Just head over to HPM to pick up your 2x4 Basics ShelfLinks bundle today! Simple assembly with only a powered screwdriver and a saw.


Tools & Items Needed for this Project:
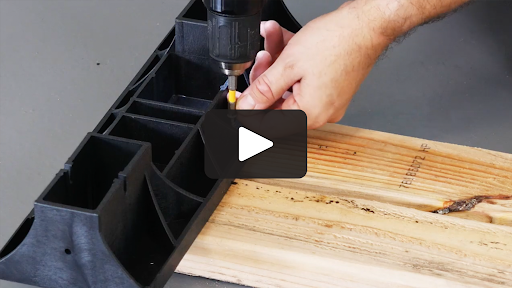
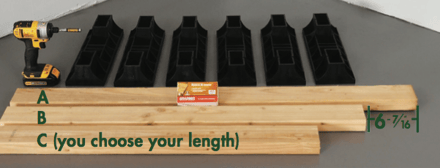 STEP 1: Cut your wood to length
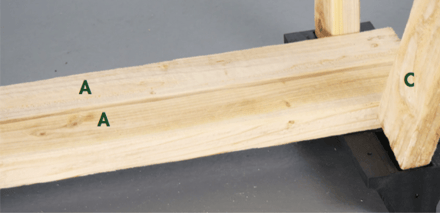
The beautiful thing about this product is it’s completely customizable. You get to choose the length of the shelves as well as the height. (A) is your top shelf. For this example, the shelves are 4 feet in length - you’ll need 8 pieces of wood. (B) is used to build the inner lining shelves, which need to be 6-7/16″ shorter than (A) - you’ll need 4 pieces of wood. Finally, (C) is the height between shelves - you’ll need 8 pieces of wood. For this example, we made the shelves 3 feet in height to give a little extra room for storing higher bins, boxes or tools.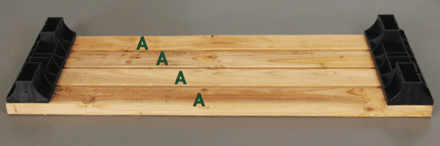 STEP 2: Top & bottom shelf
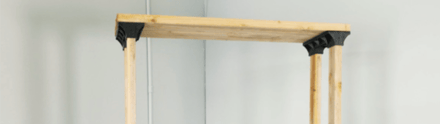
Line up your top shelf with 4 (A) pieces, separated 1/2″ apart. Place the ShelfLinks on the end of each piece of wood and screw them in. Next you will assemble the 2 bottom shelves. For this you will utilize the 4 remaining pieces of (A). Align 2 pieces 1/2″ apart and centered under the ShelfLinks.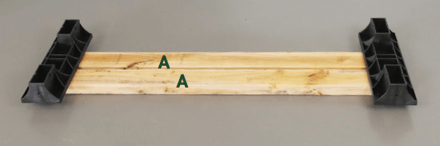
 STEP 3: Insert legs
Flip over the bottom and insert legs (C) into the opening on the ShelfLinks. Once the 4 legs are inserted, place the middle shelf on the legs and insert the remaining 4 pieces of (C) into the ShelfLinks. Once the wood is inserted, screw in each leg.
 STEP 4: Top shelf& inner lining shelves
Place the top shelf on top of the legs and the inner lining shelves in between. You may have to hammer in the inner lining shelves if your cuts are tight.We recommend a rubber mallet, or if not too tight, you can simply use the force of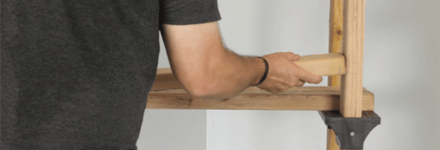 your hand to insert the wooden pieces. Once all of the inner lining shelves are in place, screw them in & you’re all finished!
Congratulations, you've just built yourself a 2x4 Basics storage shelf!
Wasn't that easy?
Subscribe now to receive more DIYs, including our other Simple DIY video showcasing how to build a bench table!
Looking for a simple DIY project? With this 2x4 Basics FlipTop bench, you can create a bench that can flip up to serve as a table! This product is
Are you in need of more storage? This is your answer! Just head over to HPM to pick up your 2x4 Basics ShelfLinks bundle today! Simple assembly with
Here's the scenario: You have a great front lanai, but you're tracking cinder into the house. One way to prevent such a mess is by building cement
 ACCOUNT LOGIN / SIGN UP
